Custom Canvas
Canvas or Stretcher Frame
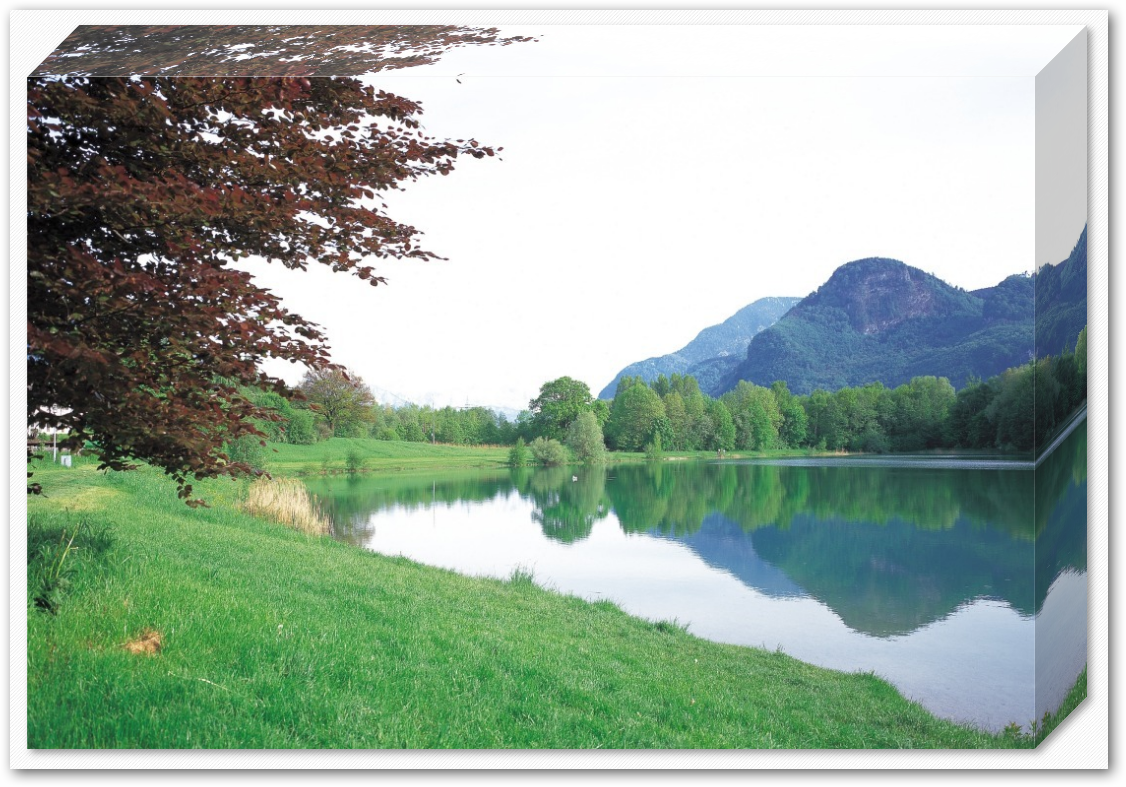
The Canvas Editor has the particularity that you can configure the dimensions of the stretcher frame so that the resulting file includes all the thicknesses and additions, ensuring there is no loss when mounting.
You can see an example here.
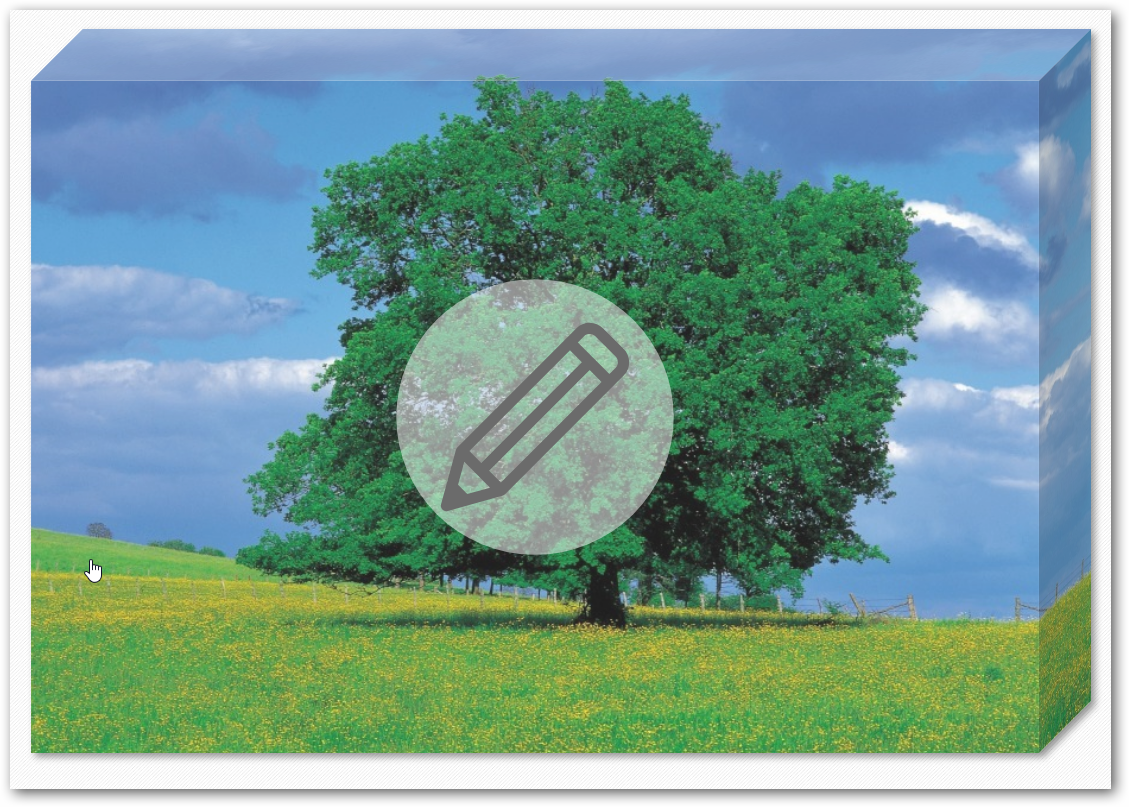
It has a mirror function on the image to prevent image loss on the front.
On the screen, it is visualized with a 3D effect to give greater realism to the product on display.

Template Creation
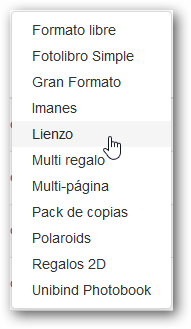
To create this template, we must use the Canvas editor.
We will access the My Templates section of the Template Manager and click the Create button to select the “Canvas” editor.
Pricing Model
This editor only allows using the price per unit.

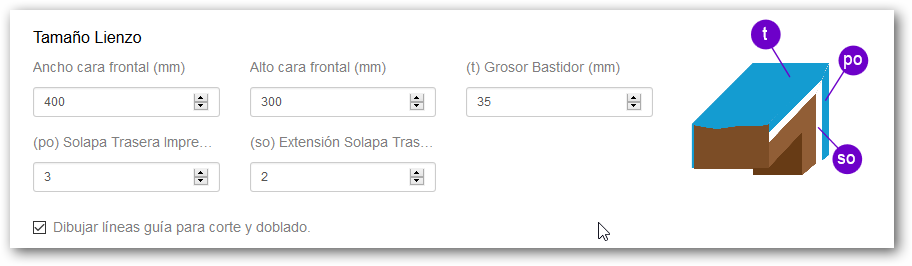
Canvas Size
This section is where the sizes of the different areas are determined. They are indicated with codes that facilitate configuration:
Front face width and height (millimeters)
This is the area corresponding to the canvas size once finished and mounted on the stretcher frame.
Stretcher frame thickness (t) (millimeters)
The size of the thickness on which the printed canvas will be mounted; this area will be added to the canvas size.
Back Flap (po) (millimeters)
Safety area to cover the frame.
Back Flap Extension (so) (millimeters)
Space typically used for stapling to the frame.
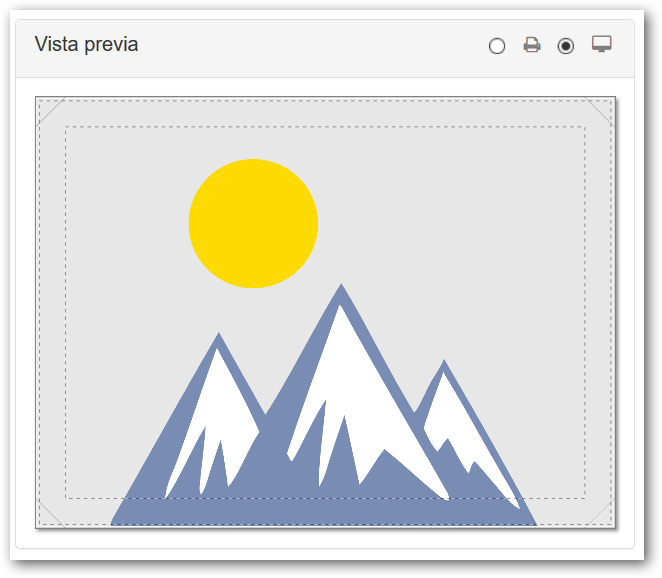
Screen Design
We can configure a screen background to make the visual representation of the product in the editor as realistic as possible. It allows configuring a solid color or an image.
If nothing is selected, the system defaults to a fine pattern as the screen background.


If an image is selected, you can indicate whether the image should fit, fill, or repeat as the background in the editor.
This image can be JPG or PNG; it is only for on-screen representation, so it should not be a heavy image. It is recommended to use images with plain backgrounds at 72 dpi.
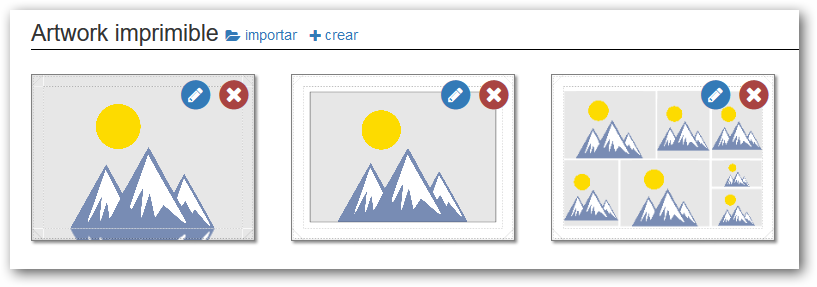
Printable Artwork (Printable Designs)
In this section, we can create as many different designs as we want to offer in the product variant, so that the customer can select and edit their images, and which we will finally receive with the order for printing.
It offers the possibility of creating parameterized designs, collage type, based on rows and columns, or importing pre-prepared designs in SVG format, which we must have previously uploaded to the Materials folder in the back office.
The creation of printable artworks (designs) is based on the concept of layers.
To create a new artwork, we can use the “Import” and “Create” buttons in the **“Printable Artwork”** section of each variant.
Create
If we select “Create”, the design has 3 layers: the top layer is Free Content, an intermediate Collage type layer, and a bottom Color type layer.
Additionally, there is a selector for How to Fill the Canvas, allowing selection between a mirror effect on the sides or filling the entire Canvas.

- Front Only (Mirror on the side)

- Entire Canvas
There are certain restrictions on layer-based designs:
- The design must have at least one layer.
- There can only be 1 “Free Content” layer.
- There can only be 1 “Collage” type or “SVG Vector” type layer.
The “Free Content” layer cannot be below the “Collage” or “SVG Design” layer.
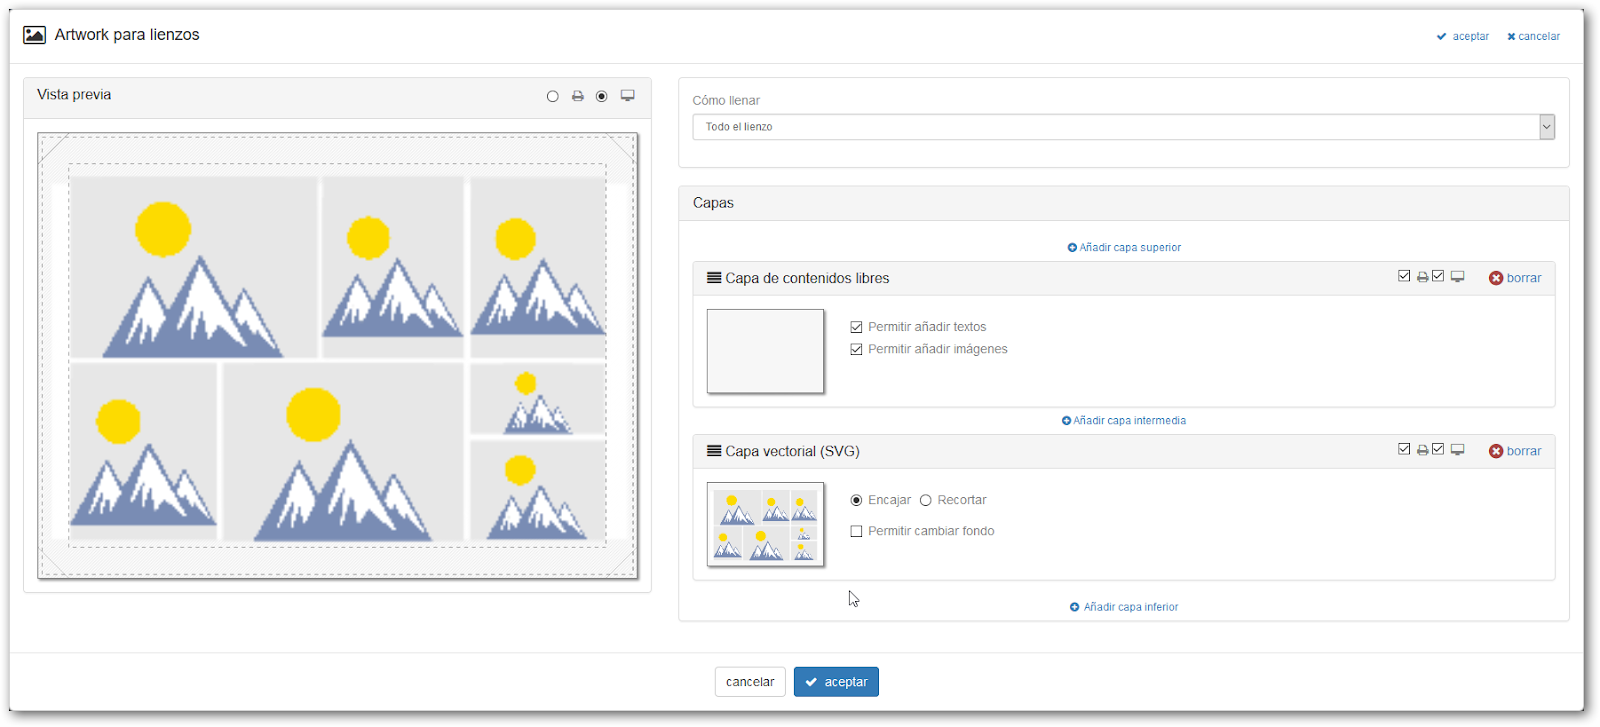
When creating a new design, the editor is organized on screen into two columns:
- Preview: Offers a selector to see which design will be shown on screen and which design will be sent to the printer.
- List with all the design layers
Design Layers
Layers are shown from top (the highest) to bottom (the lowest). Above and below each layer, a button is shown to add a new layer in that position.

Pressing one of these buttons will show a menu with the possible layers that can be added.

Each layer displays a bar with the layer type title, a printer icon, and a screen icon.

- Printer Icon: If checked, the layer will be printed.
- Screen Icon: If checked, the layer will be displayed on screen in the editor.
- Delete: Allows deleting the layer. If there is only 1 layer in the design, the “Delete” button is not shown.
The different available layer types are:
Free Content Layer
A layer where the end user freely introduces content, such as text and images.
- We can only have one Free Content layer in the design.
- This layer always has the printer and screen options checked.
- The “Free Content” layer cannot be below the “Collage” or “SVG Design” layer.
- It can be indicated which elements the user is allowed to add (Text and/or Images).

Collage Layer
A parameterized design layer where the distribution of images is based on rows and columns.
- We can only add one “Collage” type layer to the design.
- This layer always has the printer and screen options checked.
- It allows indicating the margins of the images relative to the background, the separation between cells, and the thickness and color of the cell borders.

Color Layer
A layer that fills the design area with the indicated color.
- It allows selecting a color and indicating the opacity (1=opaque, 0=transparent).
- Check whether we allow the end user to change the background color.
- This layer always has the printer and screen options checked.

SVG Vector Layer
Allows importing an SVG design, which we must have previously uploaded to the Materials folder in the back office.
- Allows indicating whether the design fits the area or fills it.
- Allows indicating whether the user can change the background color (in case the SVG design has a rectangular area marked with the tag #IMX_BACKGROUND).
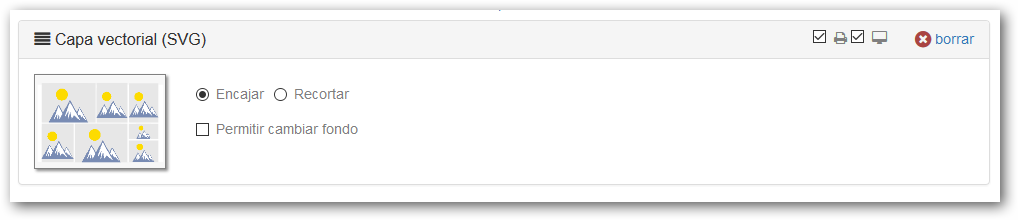
Image Layer
Fills the design area with the indicated image.
- Images in JPG or PNG format can be used, and it is advised not to exceed 10 Mb.
- Allows indicating whether the image fits the design area or fills it.

Import
When starting a new design, the system allows “import” or “create”.
If “import” is chosen, a window is displayed that allows importing an SVG design, which must have been previously uploaded to the Material folder in the back office.
Once the initial design is imported, you have 2 layers: the top layer is Free Content, and the bottom layer is the SVG design.
If “Create” is selected, the initial design has 3 layers: the top layer is Free Content, an intermediate Collage type layer, and a bottom Color type layer, plus a selector for how to Fill the Canvas: with a mirror effect or the canvas only.
There are certain restrictions on layer-based designs:
- The design must have at least one layer.
- There can only be 1 “Free Content” layer.
- There can only be 1 “Collage” type or “SVG Vector” type layer.
- The “Free Content” layer cannot be below the “Collage” or “SVG Design” layer.
Orientation Option
Allows configuring the product so that the customer can select the horizontal or vertical orientation of the design.
