Imaxel editor – Prestashop module
How Does It Work?
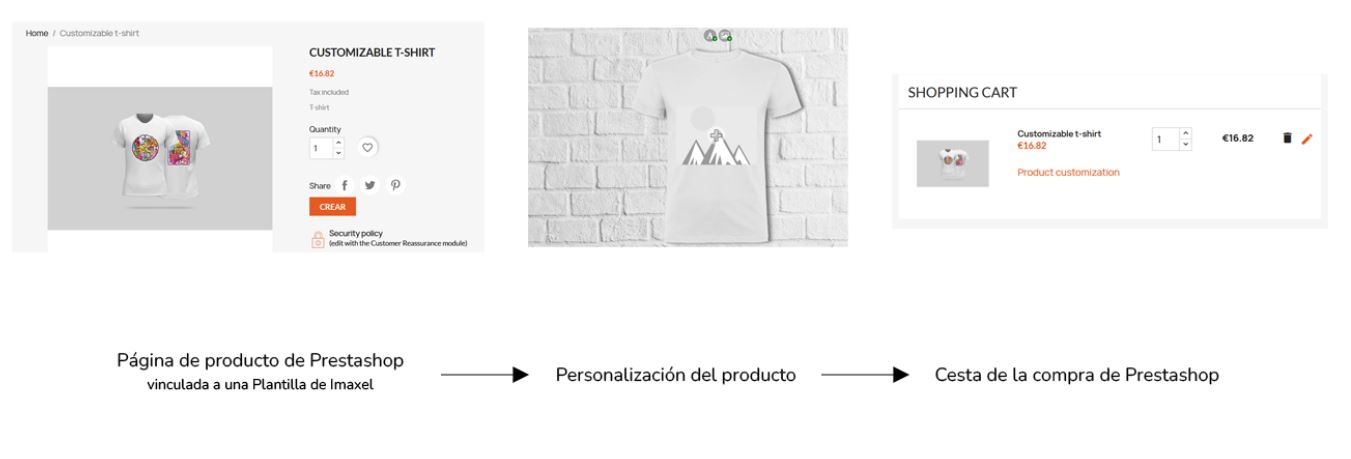
The system works by linking two entities: the Imaxel templates with the PrestaShop products.
An Imaxel template is where the product’s specific characteristics are configured, such as its size, color, dimensions, output file format for printing, and more.
The template configuration contains the options that the user will see when they open the editor to customize their product:
Imaxel templates are managed within the Template Manager, which is an environment separate from PrestaShop.
PrestaShop products are the native entities that PrestaShop uses to display products in your store. They have a series of options such as product description, price, thumbnail, and purchasing process options.
One of these options is the linking to the Imaxel template. This is how the user can access and customize their template, and once the customization is finished, PrestaShop handles the rest of the purchasing process.
Here is a diagram of the purchase process:
Module Installation
Installing this module is quick and simple. By following the steps explained below, you can have the module ready on your PrestaShop platform in just a few minutes.
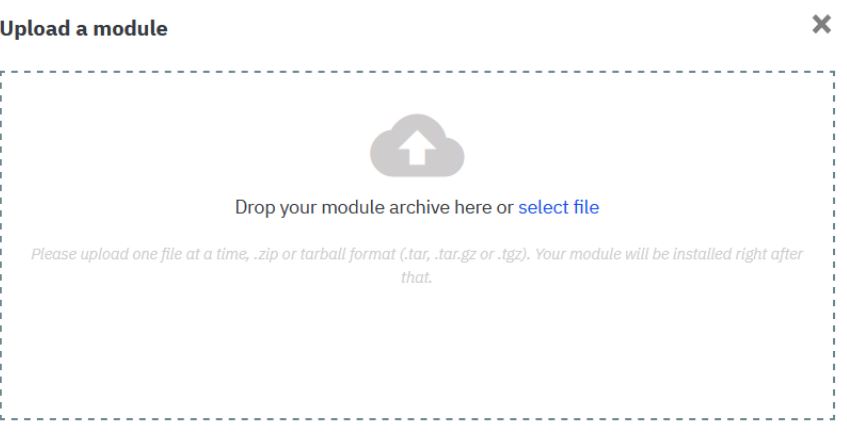
To install the plugin, go to the **Modules and Services** menu and select **Add a new module**.
In the center of the screen, a menu will appear where you can select the `imaxeleditors_prestashop.zip` file and use the “Upload this module” option to add it to the module list.
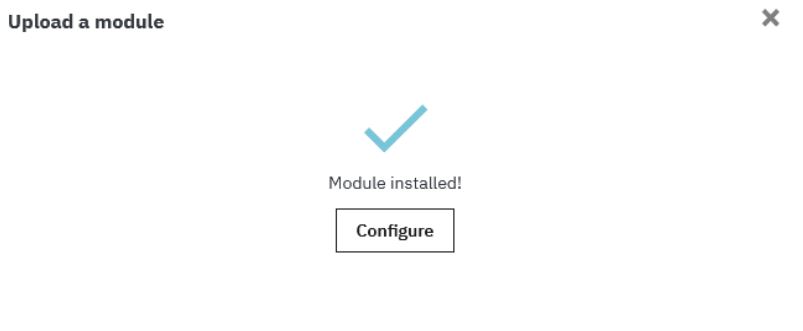
Once installed, it will appear as active in the list of modules:

Updating
In case of an update, you must go to the **Modules and services** menu and select **Add a new module**, which is the exact same process as the initial installation. PrestaShop will detect that this module already exists and will update it:

Module Configuration
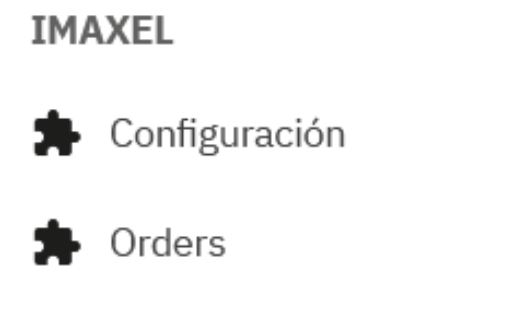
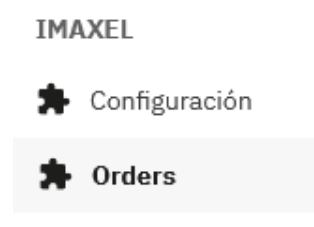
In the sidebar menu of the administration panel, you will see two new sections corresponding to the module:
Access the **Configuration** section and enter the license key provided by Imaxel.
This section consists of 4 parts:
Configuration

Once done, you will be notified that the module has been activated correctly:


Information
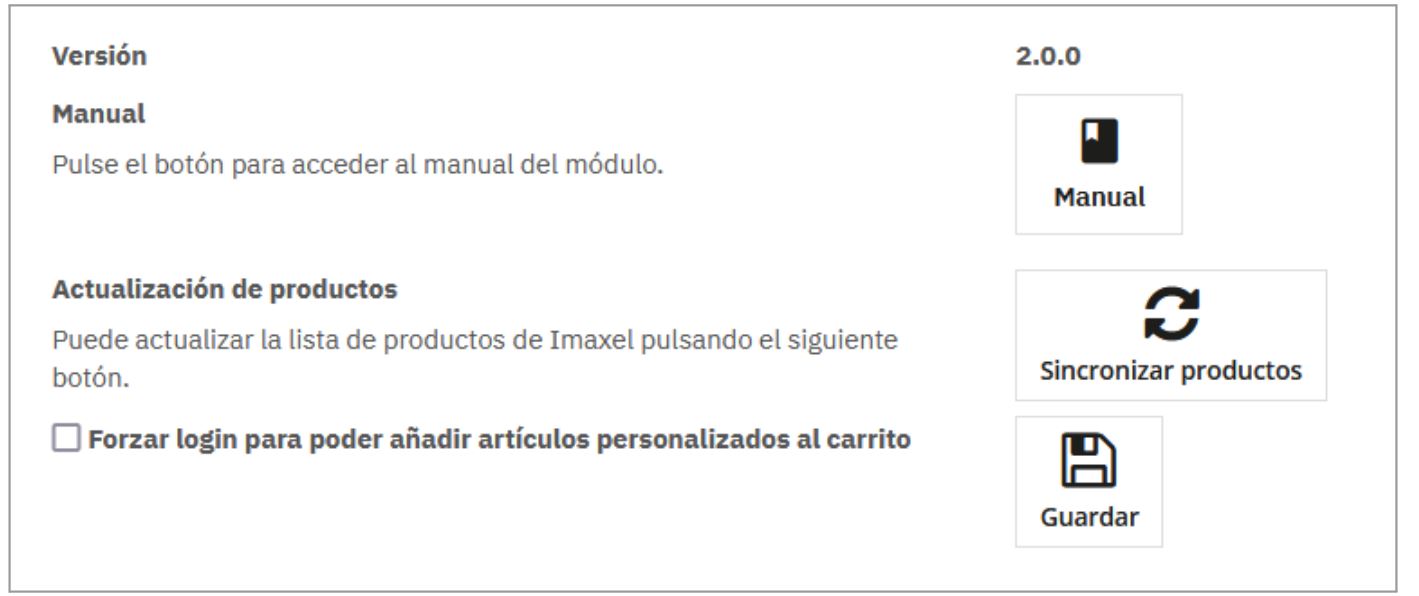
This section provides information on:
- Version: The installed module version.
- Manual: A link to this manual.
- Product Update: Allows you to synchronize Imaxel templates in your PrestaShop. Every time you create a new template in the Template Manager, you must update the information in PrestaShop using this button.
Force login to add personalized items to the cart: Forces the user to authenticate in PrestaShop before adding personalized items to the cart.
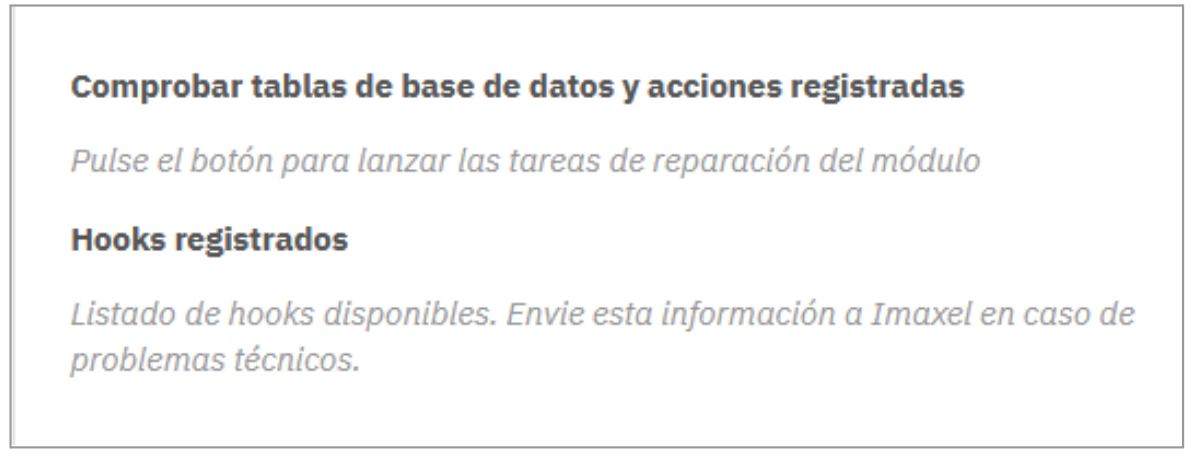
Troubleshooting
This section allows for a self-diagnosis of the module’s correct installation.
 Integration (advanced)
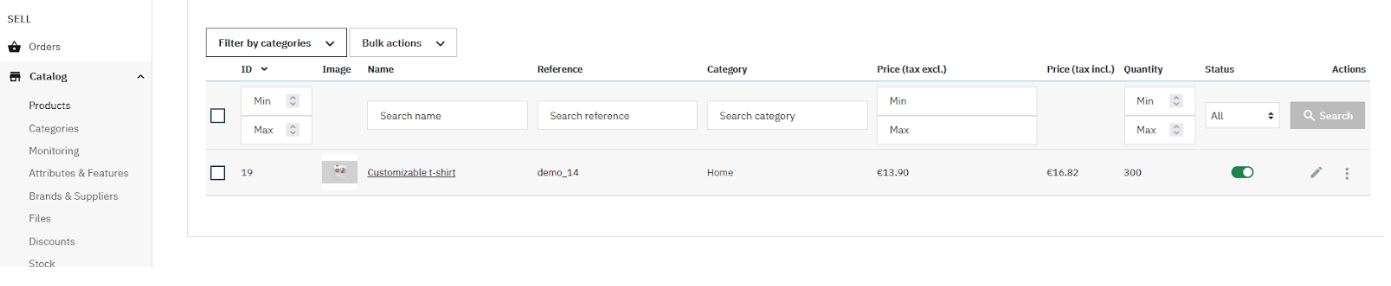
Linking PrestaShop Products with Editor Products
The first step is to register the products in PrestaShop and then link them to a product created in the Template Manager.
We can add a new product or select a product that is already registered in PrestaShop.
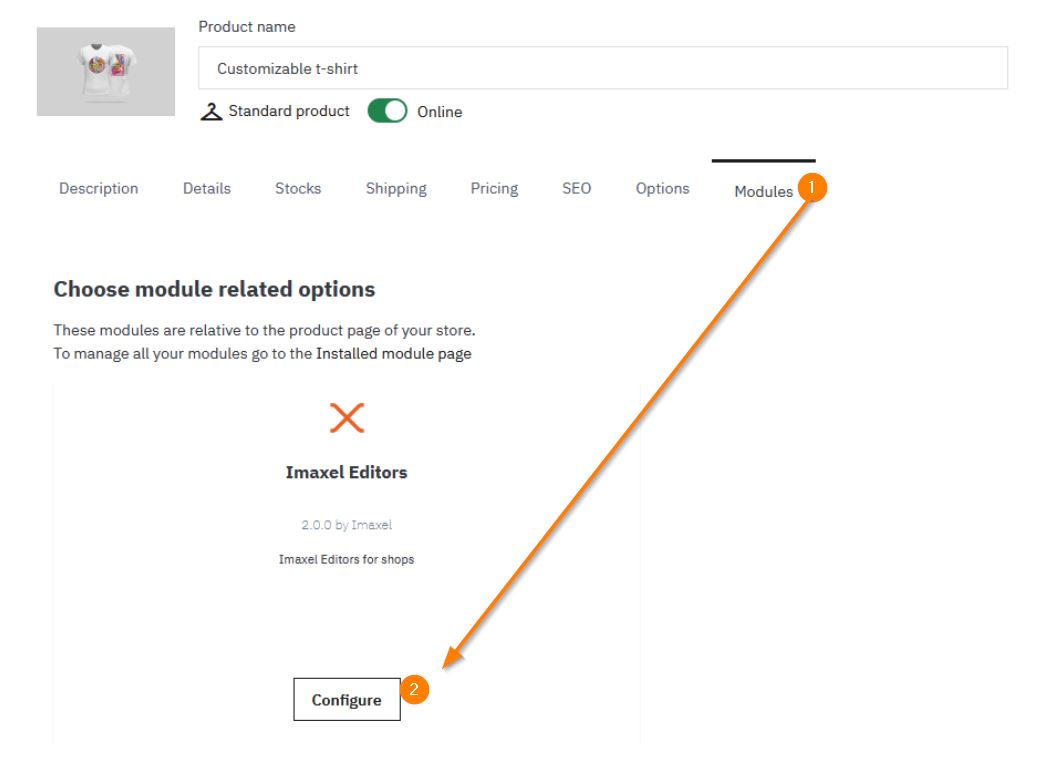
Go to the modules tab and click the **Configure** button for the Imaxel Editors module.
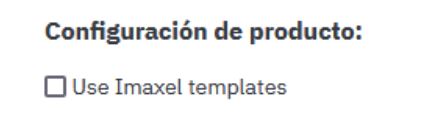
Check this option to enable the linking of the PrestaShop product with the Imaxel template:
Once this option is activated, two text boxes will be presented:

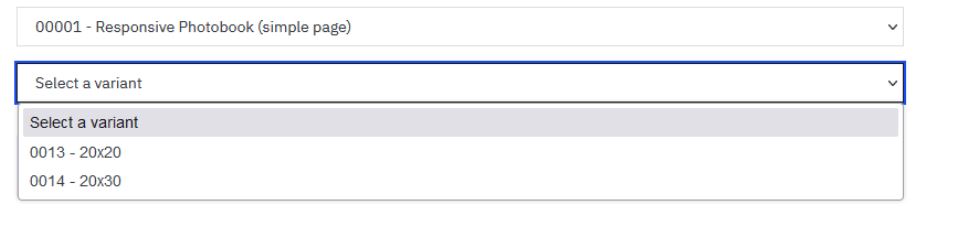
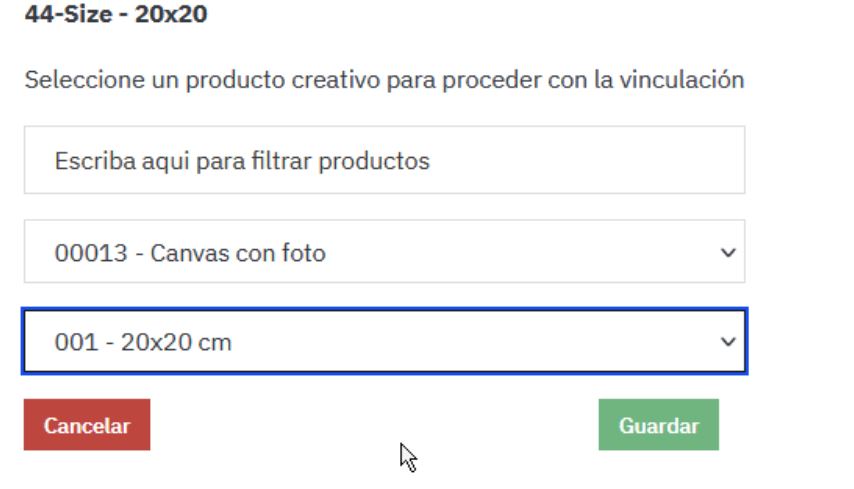
The first is a search bar to filter by the name of the template you want to link to the product, and the second is a dropdown with all the templates available in your Template Editor:
If the template has associated variants, they will also be displayed: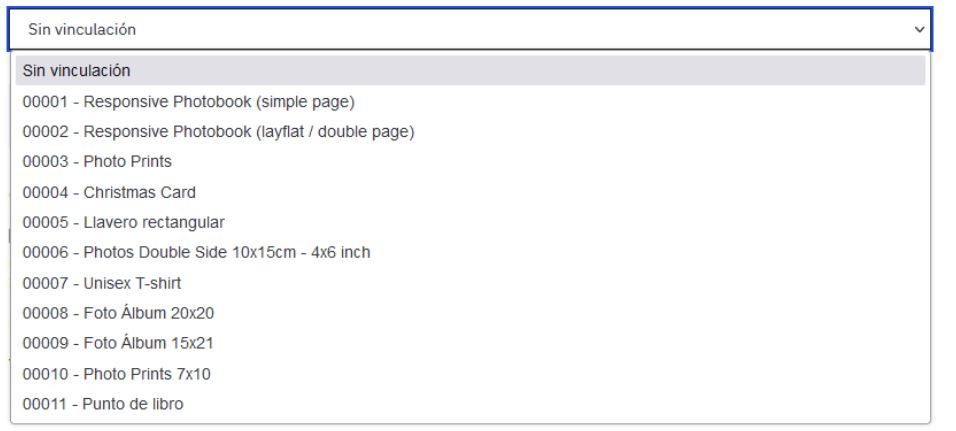
If the template has associated variants, they will also be displayed:

- If we activate Imaxel template price management:
PrestaShop prices—including discounts, catalog prices, specific product prices, combination prices, or any other PrestaShop price—will be ignored. Instead, the Imaxel template prices will be applied as the product or combination price in the catalog, product page, cart, and checkout.
If the selected Imaxel template offers several variations or a price range, the lowest price will be shown in the catalog and on the product page, preceded by “From:”. - If we do not activate Imaxel template price management:
The prices calculated by PrestaShop will be displayed according to its standard behavior, and these prices will be used in the Imaxel editor to calculate the project price.
Products linked to Imaxel templates that only have models are exclusively compatible with the “Use Imaxel template prices” option.
If you have questions about what a model is, consult this link.
For products associated with an Imaxel template of the type Printspack or Polaroid, the quantity of items cannot be adjusted from the product or cart pages. This is because the final price of the cart item is determined in the editor based on the number of images the user uploads.
For products associated with an Imaxel template of the type Simplephotobook or Simplephotobook2, the quantity of items cannot be adjusted from the product page, as the final price is calculated in the editor. However, it can be changed from the cart page.
For products associated with an Imaxel template of the type Simplephotobook2, the PrestaShop price will be used for all available page ranges.
To apply the changes, you must **Save the product.**
You also have the possibility to assign PrestaShop product variations to either Imaxel template variations or to templates themselves.
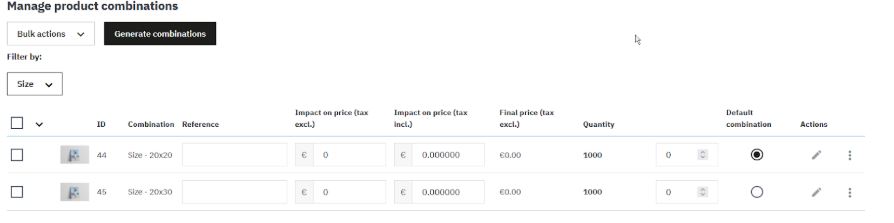
To do this, first create the product combinations in PrestaShop:
Then go to the module editing section:
And you will see a section for the product Combinations we just created:
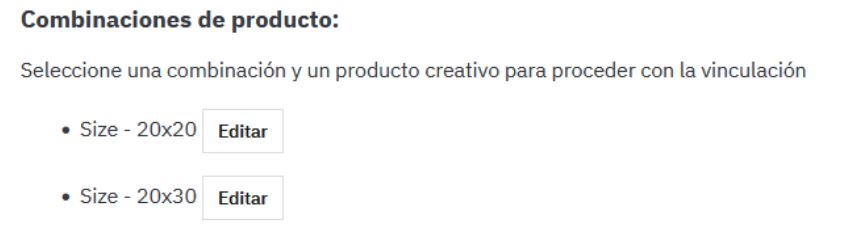
By clicking the **Edit** button for each one, you will access a list where you can link it either to a template:
Or to a template variant:
You must repeat the process for each of the product combinations you desire.
Once done, you will see the applied changes:

Editor Project ID
Every time a user accesses the editor to customize their product, a project is created in the Imaxel system.
A project holds the customer’s product personalization information: the text they have entered, the images they have uploaded, the options they have selected—all the characteristics of the customization.
It is necessary to link this project with the product in the PrestaShop shopping cart.
To do this, when you link a PrestaShop product with an Imaxel template, a custom label is automatically created in the **Details – Customization** section of the PrestaShop product configuration.

This label is where the **Project ID** associated with the user’s shopping cart session will be stored.
We can see this Project ID in the shopping cart, in the product customization part of PrestaShop:

Purchase Process and Post-Sales Tracking
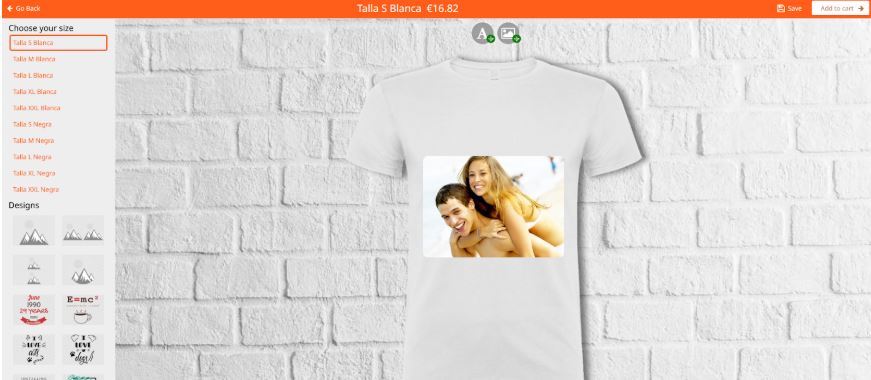
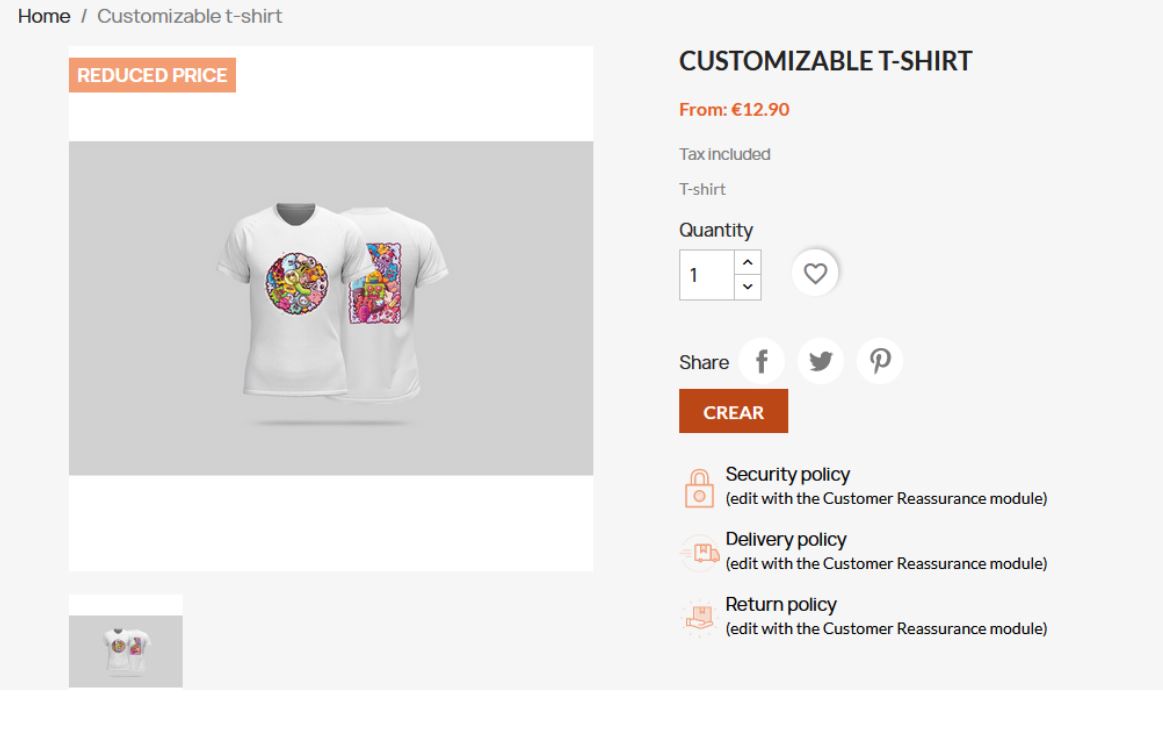
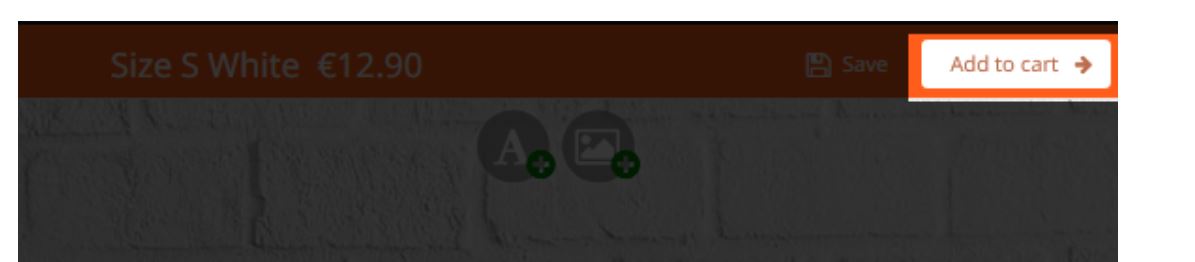
Once the PrestaShop product is linked to the editor template, a button appears on the product page to access the editor:
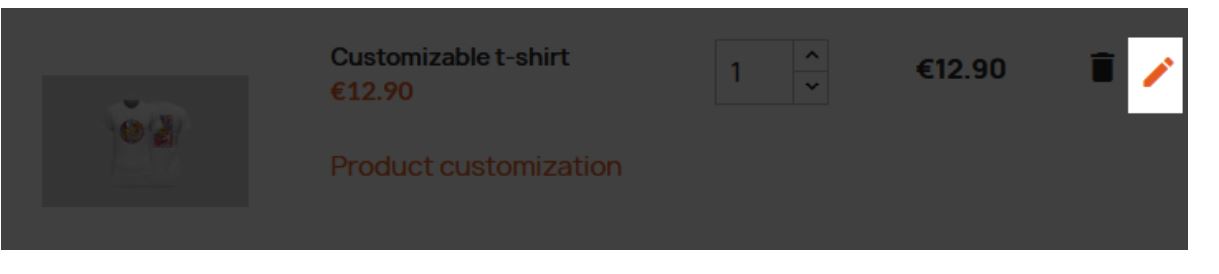
Once the customer has finished personalizing the product, they access the PrestaShop shopping cart again:
There is an icon in the shopping cart line that allows the project to be edited in the editor.
Subsequently, the checkout process is the standard PrestaShop one.
Once the customer has placed the order, it will move to the order status defined in PrestaShop. Order statuses are found under **CONFIGURE > Shop Parameters > Order Settings**. Then, click the **“Statuses”** tab.
You will see a list of default PrestaShop order statuses:
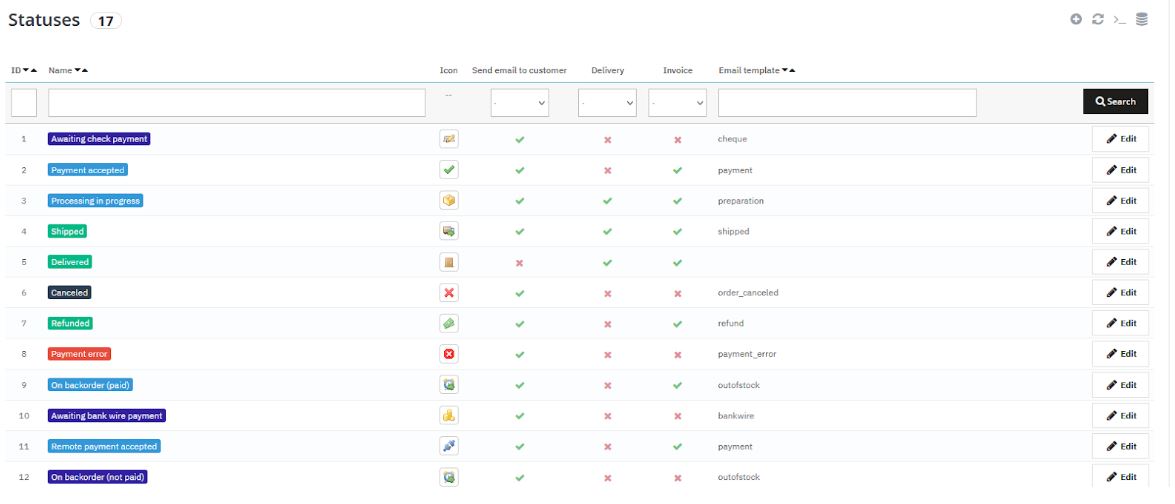
Some order statuses have the option **“Consider the associated order as validated”** checked:
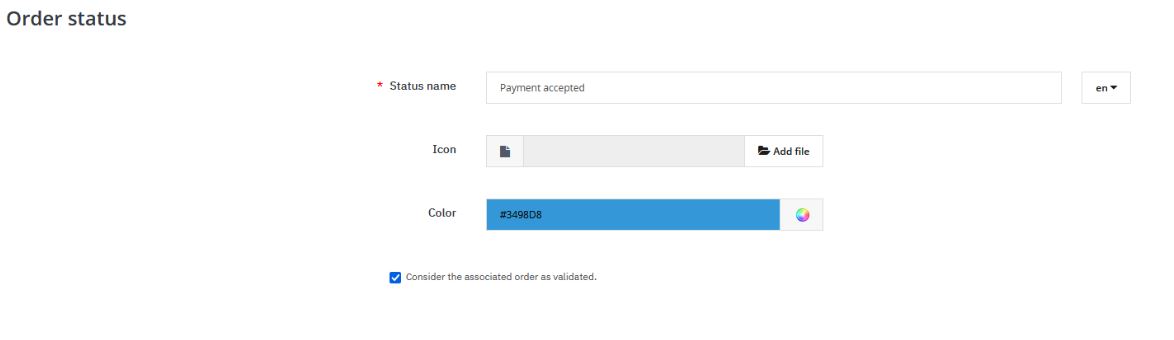
All order statuses marked with this option will send the order to Imaxel systems to generate the associated order files. If you want more information about order statuses, you can consult the official PrestaShop documentation.
Order History
In the Imaxel-Orders section:
You will find a list of orders with customizable products placed within the last 10 days with the following options:
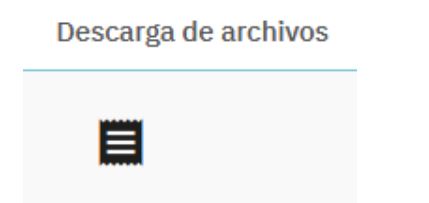
Allows the download of the order files. The order must have validated payment to proceed with the download.

This action re-generates the download file.
Accesses the order detail page.
User Account
The customer has a section in their user account called **My Projects** where all orders with personalized products they have placed are listed:

FAQ
Template is not appearing in the dropdown list
If the Imaxel template or template variant does not appear in the dropdown list, it is very likely that your PrestaShop backoffice administrator session has expired. You must log in and authenticate again.
If you want to increase the time you remain authenticated in the PrestaShop backoffice, you can modify it in the section **Configure – Advanced Parameters – Administration:**
