Templates Manager
To get the maximum performance from the Imaxel editors, we will explore their functionality and first address conceptual definitions that will help us contextualize this guide.
We will start by explaining what a product, a product template, a variation, and a project are.
What is the Template Manager?
The Template Manager is the environment where we can create our own templates.
It has a unique URL, and the credentials are specific to each merchant; we will provide them to you when you register in our system.
The Template Manager has two administration levels, depending on the merchant’s needs, either as a distributor or as a user.
Distributor:
This figure represents a chain-type merchant, who has the need both to create their own products and to distribute them through an internal network.
e.g.,
An affiliate chain can make its own freely distributable products available to its components, but also give its affiliates the possibility to create their own.
User:
This role is for the standard merchant, who manages their own products and does not need to share them with anyone else.
e.g.,
A photography store with its own products.
In this help center, we will address the aspects of the Template Manager at the user level.
If you have questions about what type of level you have or need, contact us at soporte@imaxel.com
Template Manager Sections (User Level)
Now that we know what a template is, we will look at the different sections we have in our template manager.
There are three:
- Templates
In this section, we will find the distributor’s templates: these are pre-made product templates that can serve as an example to create our own or modify the available ones to adapt them to our needs. In short, they are free-to-use example templates to modify and use. - My Templates
In this section is where we will have the templates we have created from scratch or those we have copied from the Templates section, to use or modify freely. - Cliparts
Cliparts are ready-to-use images or graphics that you can add to various projects to increase their visual appeal. You can create your own or use the ones available. We will see how they work later.
Below we show you an explanatory video of the user-level template manager administration panel.
Editing Modules
The editing module is the tool that allows us to create, modify, or clone a template.
We have different types based on the type of template you want to create.
Let’s take the example that we want to create a template for printing photos and another template for creating an album. Photo printing requires certain options, such as the size of the photos. The album template also requires the definition of the page size but also needs other options that are intrinsic to albums: the spine of the cover, the quantity of photos per page, the number of sheets…..many options that do not make sense when applied to a photo printing template.
That is why each product typology has its own editing module in order to optimize the template creation task.
How to use the example templates we have
In the following video we will see how to use the example templates we have in our templates, so that we can modify them
How to clone my templates
In the following video we will see how to copy our own templates.
Cloning templates is a very useful procedure for carrying out tests, creating backup copies of configurations, or having a base template to which you can add functionalities.
Next we are going to see the main editing modules in detail, but first we will see those functionalities that are common in all of them, such as the product titles or thumbnails.
Common Functionalities in the Editing Modules
Template code and/or variant code:
Both codes are free fields and for the exclusive use of each user; they must be alphanumeric values without spaces.
In the case of the template code, it will automatically start with digits that identify your user code. These digits are added automatically, so you do not have to perform any additional management.
Titles:
All fields that appear in this format:

are the titles of the template, the variant, the available options….in short, they are the texts that the user will see when they are editing their template.
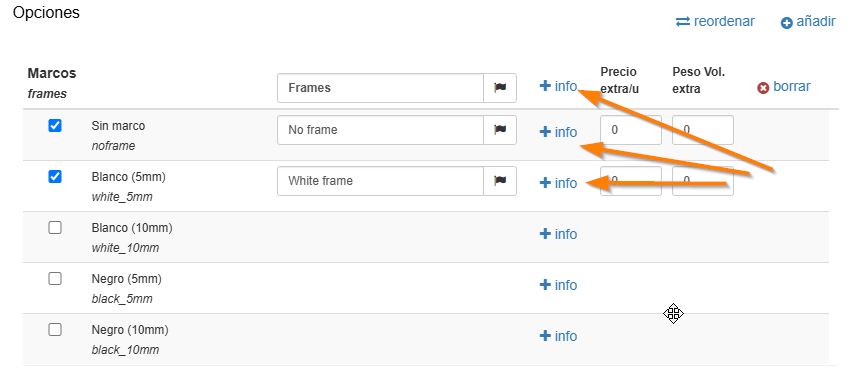
As we can see, these fields are always accompanied by a flag icon:
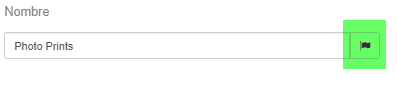
Which indicates that it is a multi-language field. If we click on this icon we will see the different translation options:
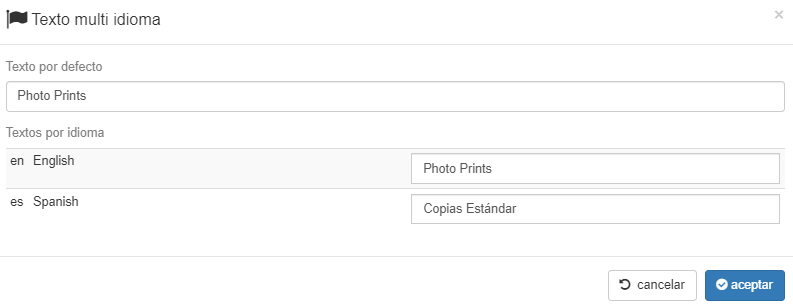
Therefore, we can indicate the translation in the desired language and the text will appear in the language that the user has by default in their browser. In case the user does not have a language defined by default or the editor is not able to identify it, the content of the default field will be shown.
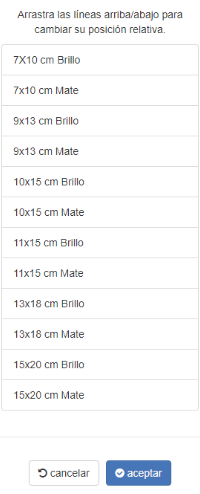
Reorder variants
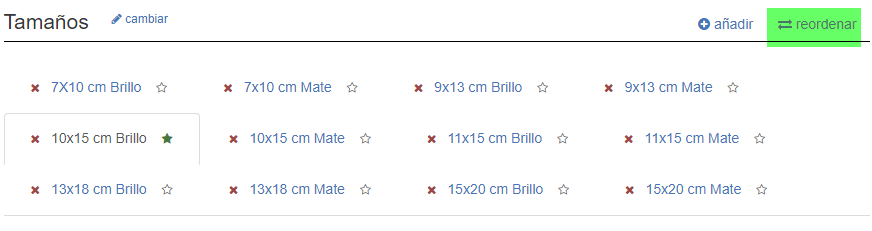
Through the “Reorder” option we can organize the position in which we want to display the variants in the editor.
Default “favorite” variant
In the variants tab, one of them can be marked as “default” (or “favorite”).
To do this, you must click on the “star” symbol that appears to the right of the variant name.

When editing the product, the variant marked as the first option will be shown to the customer.
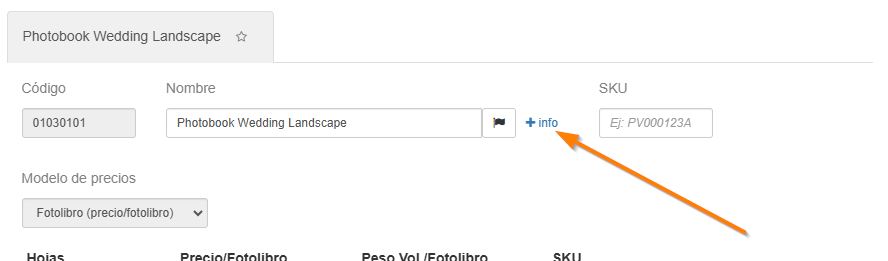
Template image
We can define it at the beginning, by attaching an image:

Application parameters

This section consists of two options:
- In this section, we can configure the way the product title will be displayed in the editor bar; we can select the product name or the variant name

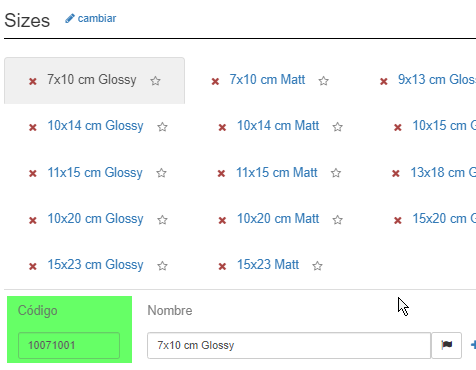
- A numerical field (Collapse menus with more options than) that indicates from how many available options these options will be displayed as a dropdown menu or not.For example, we have this template with all these variations (17):

And we have marked in this option that we want the options to collapse if there are more than 5

therefore, in the editor we see that there is a dropdown list that shows the 17 options:


If we had marked this value at 20, the options would have been visible without a dropdown list.
SKU
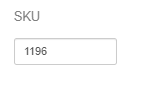
SKUs (Stock Keeping Units) are codes you can use internally to track your inventory and generate sales reports. You can use them or not; it’s your choice.
User Images

In this section, the minimum resolution that the editor can accept for images uploaded by the customer is defined.
Output File

It can be JPG or PDF, each with its available options.
In the case of JPG, we can also indicate the output file resolution (dots per inch).
In this section, we also have a dropdown related to imposition, with two distinct values: One Up and Multi UP

For products with classic sizes (10×15, 15×20 etc.), for printing in minilab or sublimation printers, we generally use the output file without imposition, with the same product dimensions and printing resolution.
Bleed and Bleed Fill
In graphic arts, “Bleed” refers to the measure by which the print area of a document must extend beyond the final cut line, so that when it is cut at the end by the guillotine, no white edges or empty borders remain.
When selecting an imposition, we can configure the millimeters needed for the bleed and the type of fill that will be used for it.
We can use two types of fill to represent the configured bleed:
- The “Scale” option will scale the image, increasing the size (the millimeters) that we have configured in the bleed.
- The “Background color” option will add a margin of the background color with the millimeters we have configured.

One Up Imposition
We can use the One Up imposition if we want to print a single image from an order on a larger paper format.
This imposition is generally used for Posters, Collages, etc., where the product image is printed on a larger page size, and it is necessary to have crop marks.

Ex. One Up Imposition

Multi Up Imposition
We can use the Multi Up imposition if we want to take advantage of a larger paper format to print more than one image from the same order on the same page. If the total number of images does not fit on a single page, the system will generate as many pages as needed to print the total number of images in the order.
For example, we could configure a 12-photo Pack product where the size of the images to be printed is 10×10 cm, and we want to print the 12 images on an SRA3 size paper sheet, making a Multi Up imposition with 2 mm. of bleed and using the scalable bleed fill.

Ex. Multi Up Imposition

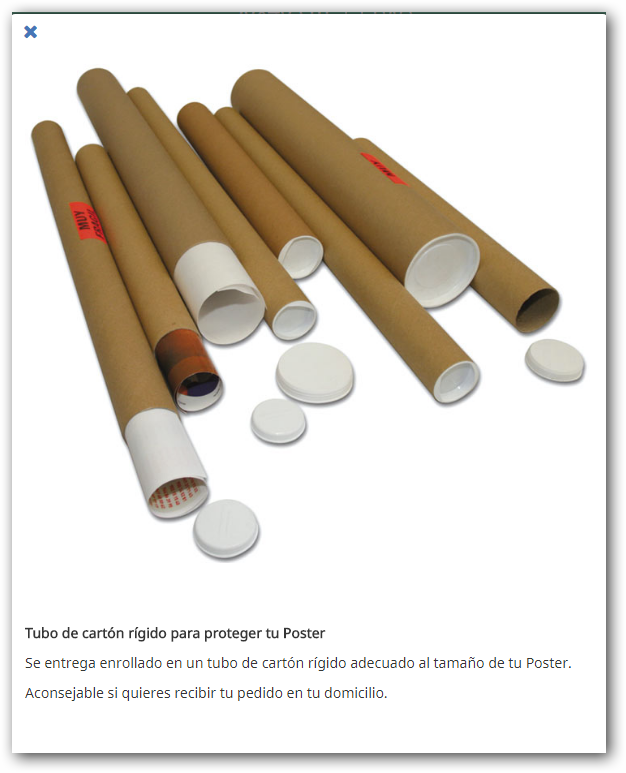
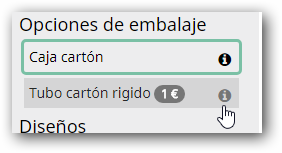
+Info Option
Through the “+info” option, which appears in various sections, we can add additional information to give the customer the maximum information about the product:
By clicking on +info, a screen will appear that allows you to personalize the product with an image and descriptive texts.
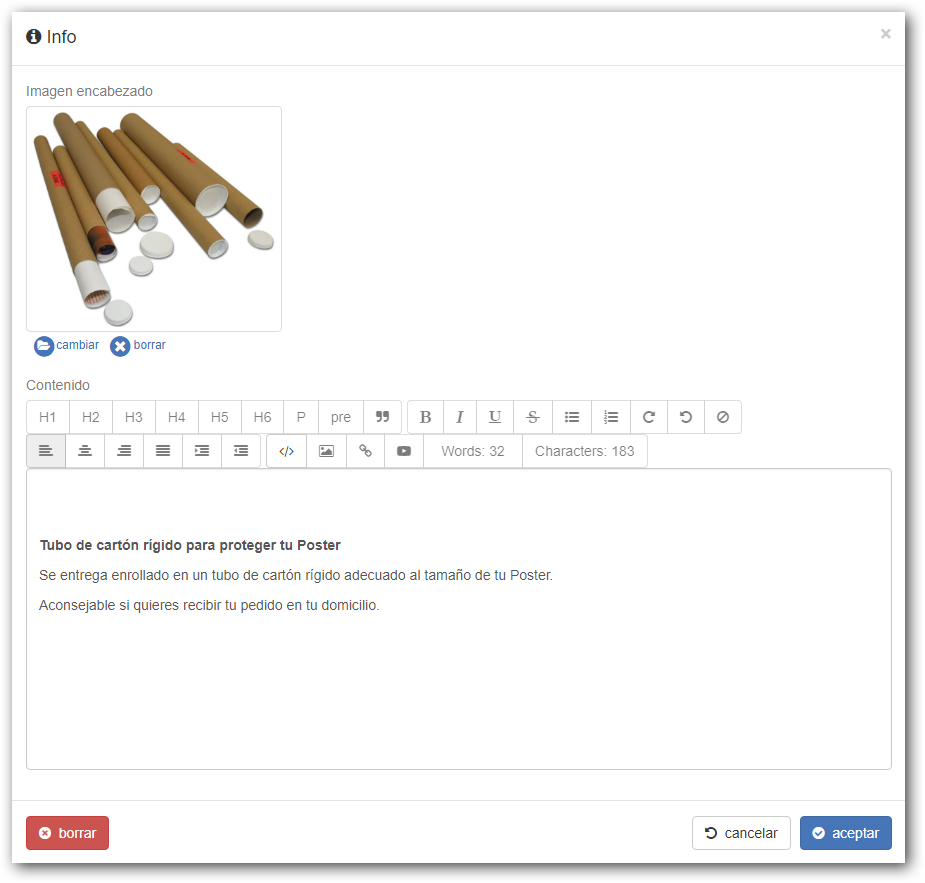
In the product that you have selected to add the additional information to, the editor will show an icon with an “i” for information that the customer can select to view the details.
Options
All editors allow adding a series of options that vary depending on the type of editor.
Some of these options affect the file to be printed (margins, background color, orientation, text font), others are visual characteristics (edge colors, canvas effects, etc.) that help the customer understand the product they are customizing, and personalized options that allow adding additional features to the product.
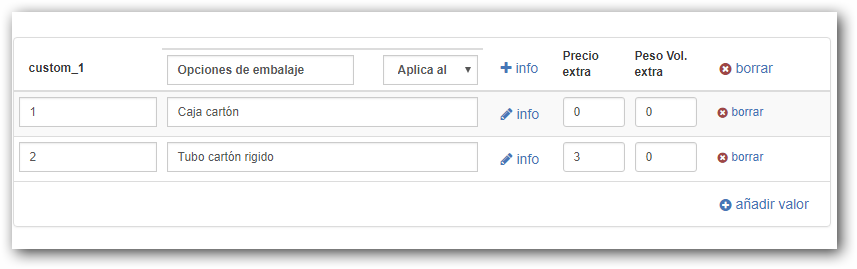
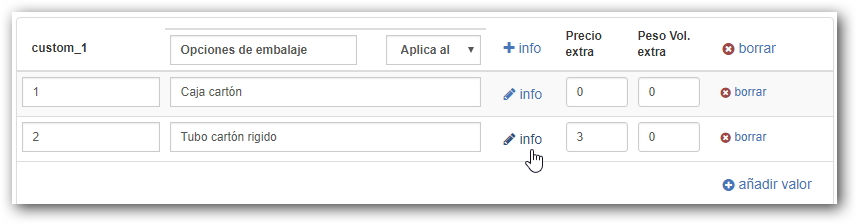
Custom Option
This option allows the customization of any extra feature we want to offer the product, allows us to add as many personalized options as necessary and it is possible to add an additional cost for each option.
It is available for all types of editors and does not affect the images to be printed.