Automatic DNP Printing
The DNP output method is one of our plugins with the purpose of automating printing. Each plugin works for the automation of its respective printers: Noritsu, Fuji C8, Fuji PUD, Citizen, DNP, EPSON, Mitsubishi, etc.
In this tutorial, we will cover the necessary steps to configure the DNP printer plugin which supports any printer compatible with the DNP printer integration SDK.
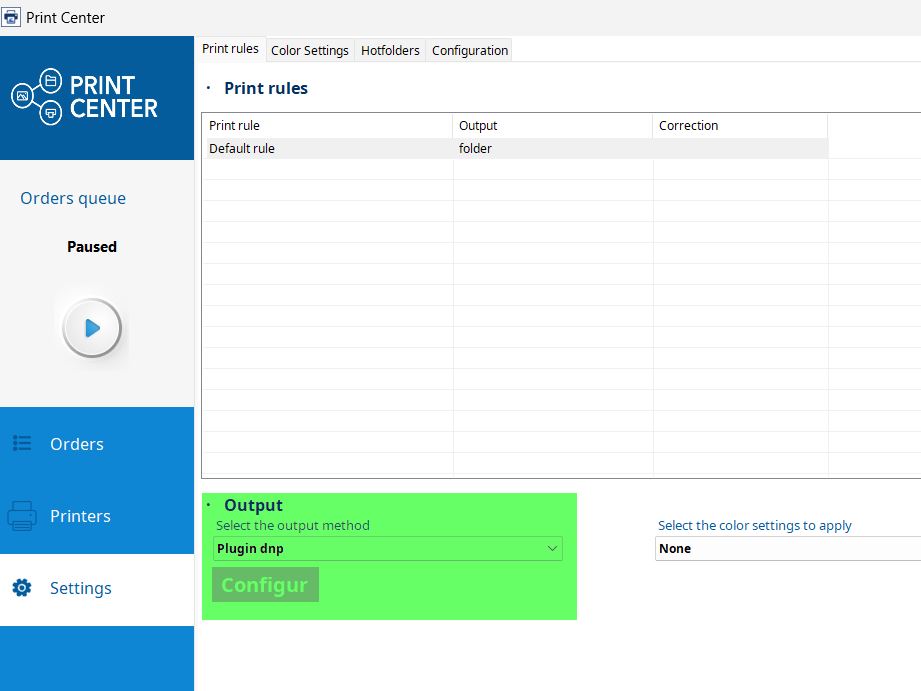
First, we will configure the order output to send them to the plugin. To do this, we access the configuration menu of the PrintCenter. We indicate the output to the plugin, and once selected, we click the Configure button.
Next, a configuration pop-up appears for the Publication folder Path, which is the Path where printer statuses are written.
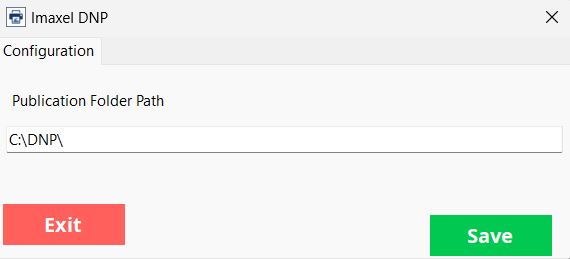
Once this step is completed, the configuration is finished.
Supported Sizes
10×15
15×20
15×15
13X18
13×13
Templates available for direct printing
| Template Code | Template Name |
| DNP10X10POLAROID | 10x10cm Polaroid Photos |
| DNP10X15 | 10x15cm Copy Pack Photos |
| DNP10X15RETRO | Retro Print Polaroids |
| DNP13X13 | 13x13m Copy Pack Photos |
| DNP13X18 | 13x18cm Copy Pack Photos |
| DNP15X15 | 15x15cm Square Copy Pack Photos |
| DNP15X20 | 15x20cm Copy Pack Photos |
| DNP15X9POLAROID | 15×8.9cm Polaroid Style Photos |
| DNP20X10 | 20x10m Copy Pack Photos |
| DNP20X18 | 20x18cm Copy Pack Photos |
| DNP20X20 | 20x20cm Copy Pack Photos |
| DNP20X23 | 20x23cm Copy Pack Photos |
| DNP20X25 | 20x25cm Copy Pack Photos |
| DNP20X30 | 20x30cm Copy Pack Photos |
| DNP9X13 | 9x13cm Photos |