How to create a floor circle signage template with “cut contour” for Roland printers
Document versions
Objective
Create a floor circular signage of 30cm x 30cm size.
The printable file has to have a circle “cut countour” for Roland printers.
to automatically cut the material in a circle shape.

Materials used
We want to do something like this design:

We need to prepare first 2 files that will be imported later in the Imaxel editor to create the model asociated to the template:
1. PDF file of of 30,4cmx30,4cm.
We will give 2mm bleed to the design so we will create a PDF file of 30,4×30,4cm to provide 2 mm bleed for each side to the artwork. The printable file will be 30,4×30,4cm and after the automatic ut will be reduced to 30x30cm.
The PDF has to have 2 objetcs:
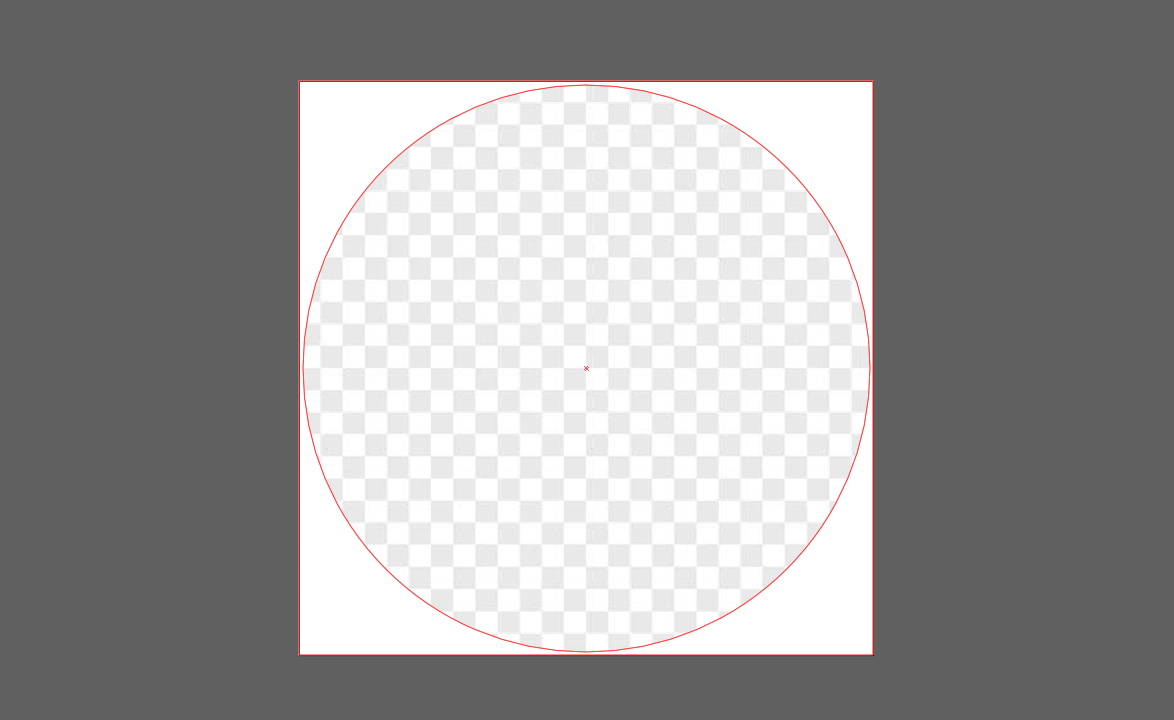
- An square of 30,4×30,4cm of white color. We will do a “circular hole” of 30x30cm inside the square, that will become transparent.
This object can be done in illustrator in several ways, for instance using a “compound path” between an inner circle of 30×30 and a external square of 30,4×30,4cm.
Like this:
- A circle line of 30x30cm (the “cut contour” line). This object will show the cutter device the cutting path.. In Roland, “cut contour” is defined by creating line that uses an special spot color called “cut contour”.
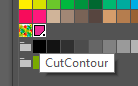
There should be only one cut countour line in the PDF.
In the case we do not plan to use an automatic utting device this line is not needed and we can just use the first obejct.

Finally both objects are saved in the same PDF file (floor circular signage with cut contour 304×304.pdf)
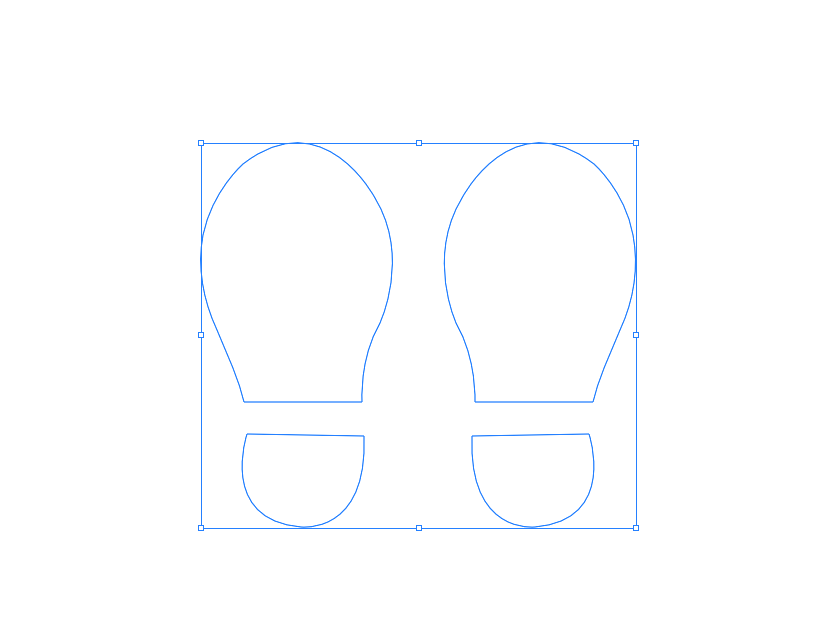
2. Footprints clipart
A clipart is a file JPEG. PNG or PDF. In this case we will create a footprint icon in illustrator and save it as PDF file to keep it vectorial (footprint clipart.pdf).
Create the template definition
A template has a definitionand may or may not have also a model asociated.
The template is created at:
https:// services.imaxel.com/yourdealer/admin > product templates > + create > responsive photobook”
To create a product we just need to fill the form with the definition of the product.
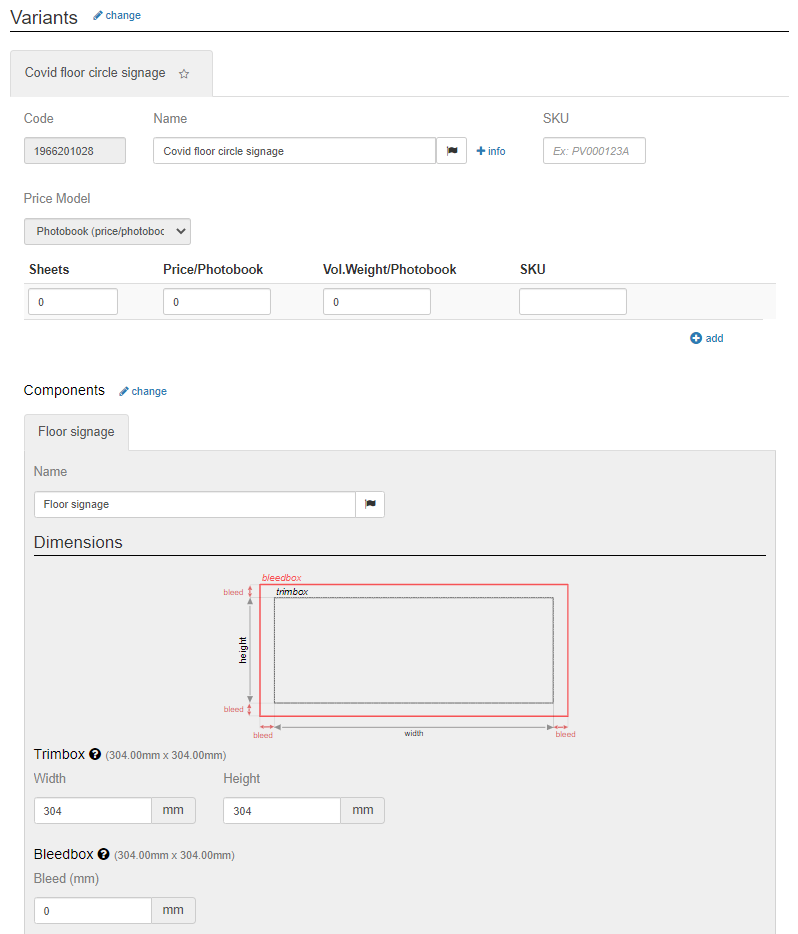
- Basic info

- Define the components and sizes
- Use only one variant (no several variants can be esed since we will later create a model which amay only use one)
- Remove “cover” and “pages” componets since we will not use them for a floor signage. Make sure the number of pages is set to “0”
- Add a new “Generic” component and call it “floor signage”
- Set the size of the output PDF to be sent to the printer. In this case 304x304mm
- Do not assign automatic bleed (bleed = 0) since the bleed has already been considered when creating the template PDF file
- Set the online editor parameters
- Layout> only manual
- No corner radious needed (set them to 0)
- It is possible to add a scene design like a floor or carpet to help creating a real design experience. The scene is not needed and will not be printed. We will not use it in this sample.
- You may use a custom palette for the text in the signage. Otherwise the standard pallet will be used.
- NO background would be used in the editor since this is already handled insided the temaplte PDF

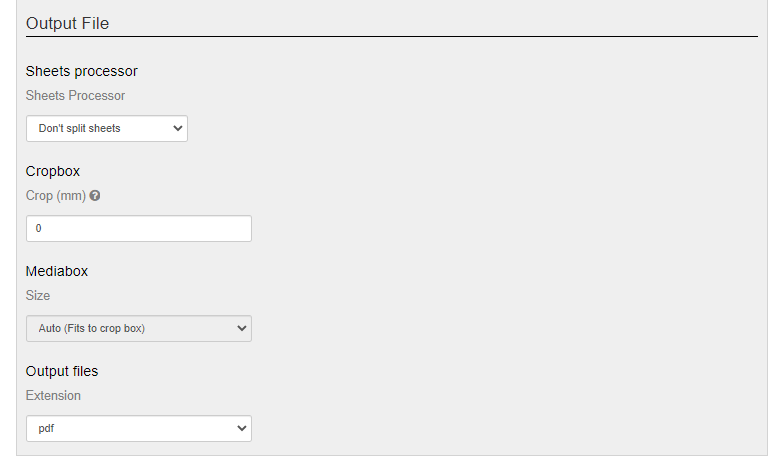
- Set the output format.
Out put format should be defined as PDF
Create a model
Models are created The template is created at:
https:// services.imaxel.com/yourdealer/admin > product templates > edit model

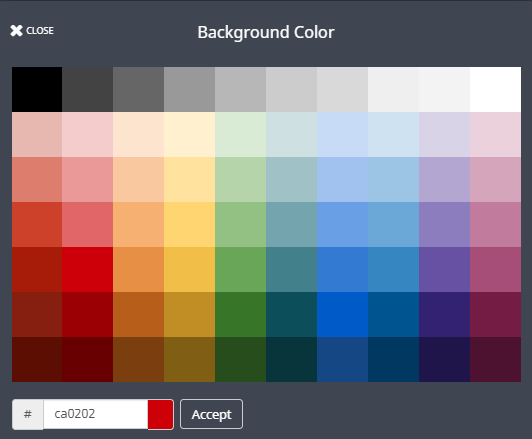
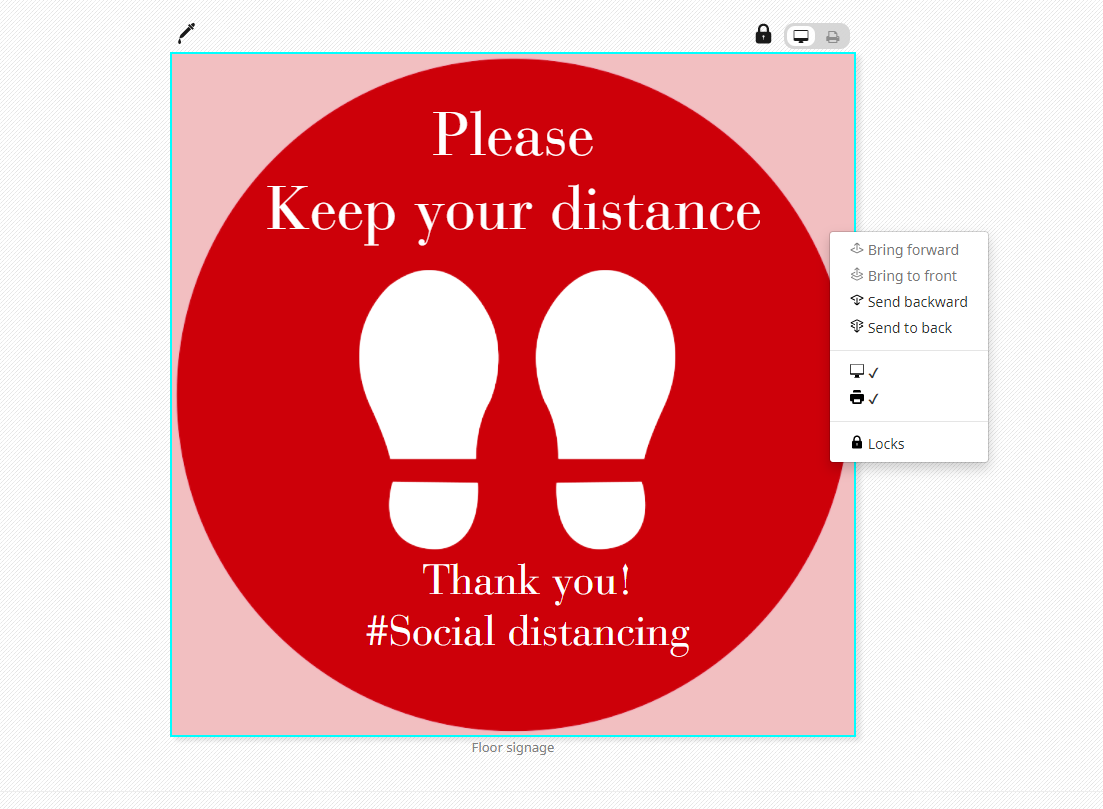
- Set a red background color clicking on the color picker icon and select your color (on top of the pallete you may use any color if you know its hexadecimal value).
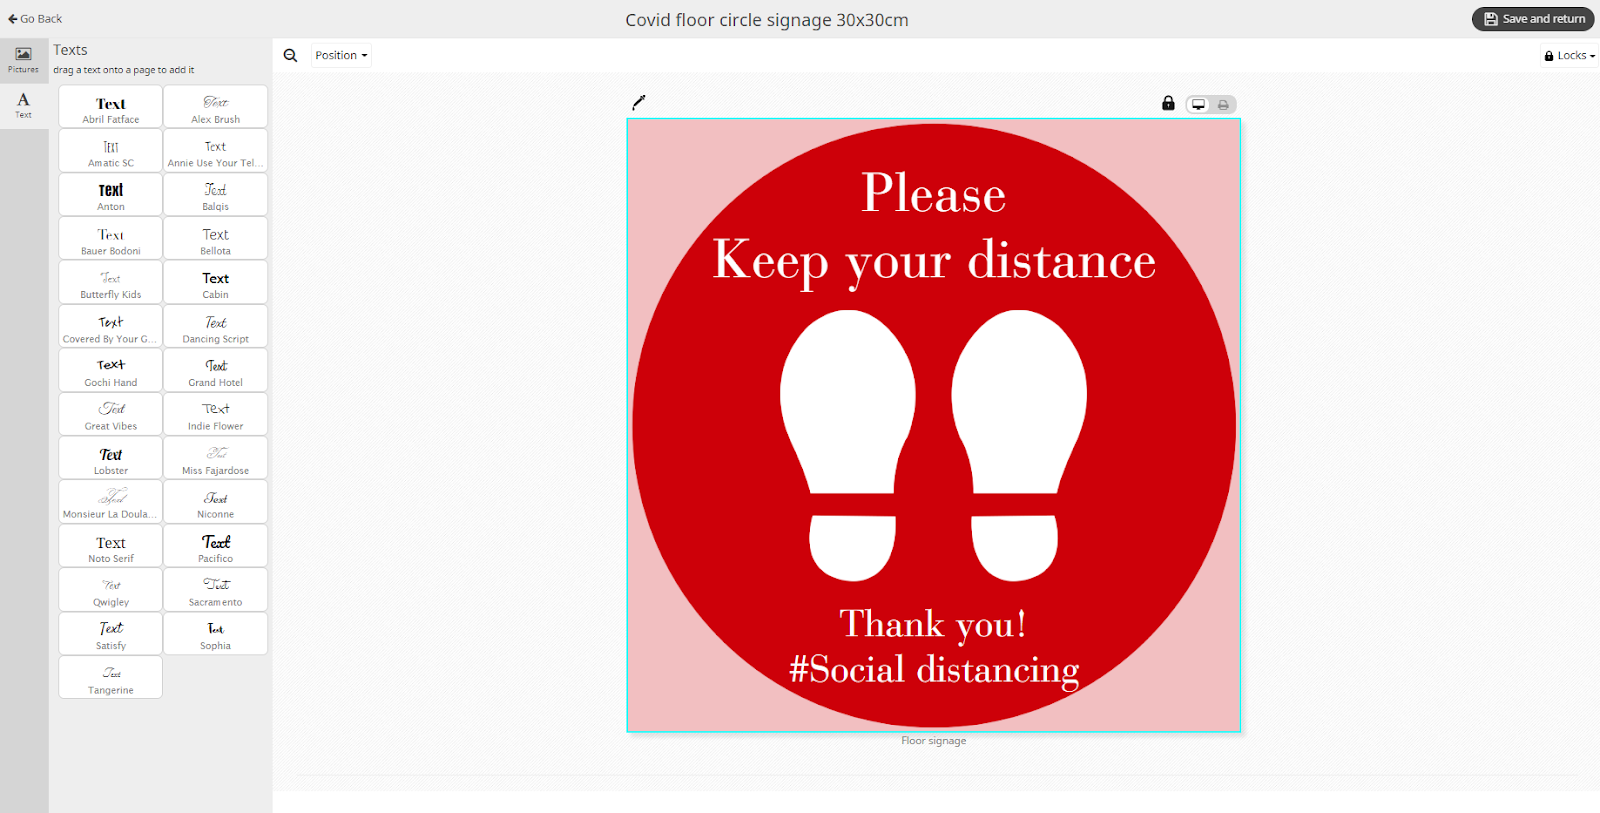
- Add the texts and the footprint clipart using the drag and drop function. The model will look like this:
- Define which editing options are available to consumers and which options are “locked”.
This is done using the “locks” feature. There are 2 level of “locks”
- One general that applies to what the cosnumer can do with the whole design (add nex texts, add new images, etc)
- and another that applies to each of the objects (move it, replace, etc).
If we do not set “locks” the consumer can change almost everything, which may be OK in some cases but not what we expect in others.
Foir instance in this case:
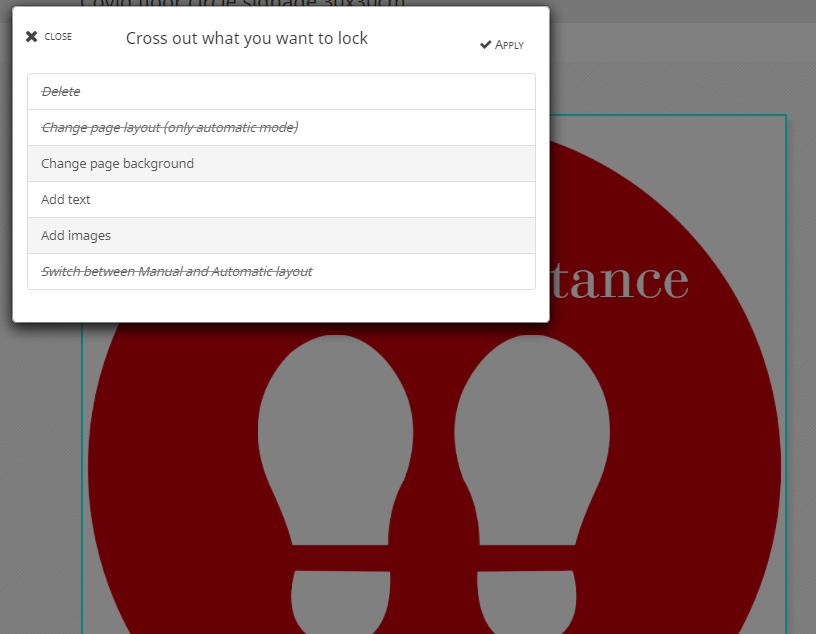
at a general level (i.e. using the “lock” icon over the circle) we are going to:
- Lock the option to delete the document
- Lock the option to change layout
- Lock the option to change between modes
But we are letting the consumers
- Change the color background
- Add new text
- Add images (which include also cliparts)
At an object level we are not going to aply any lock to any of the objects (the texts and the footprint clipart) so the consumers have total freedom to redesign (can move, delete, color, etc. )
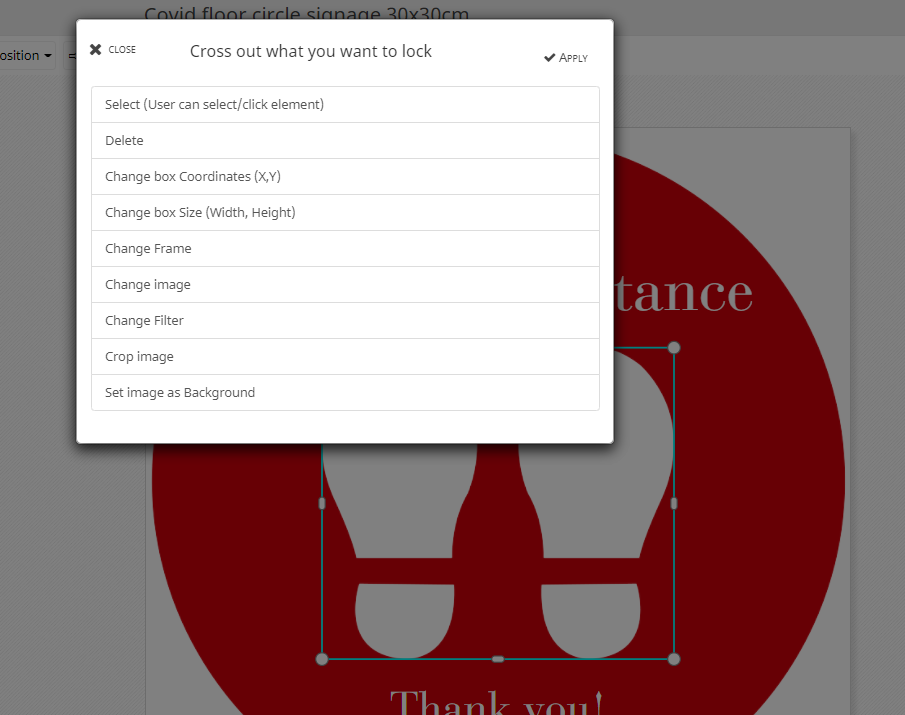
- Import the PDF file with the square and the circle created before
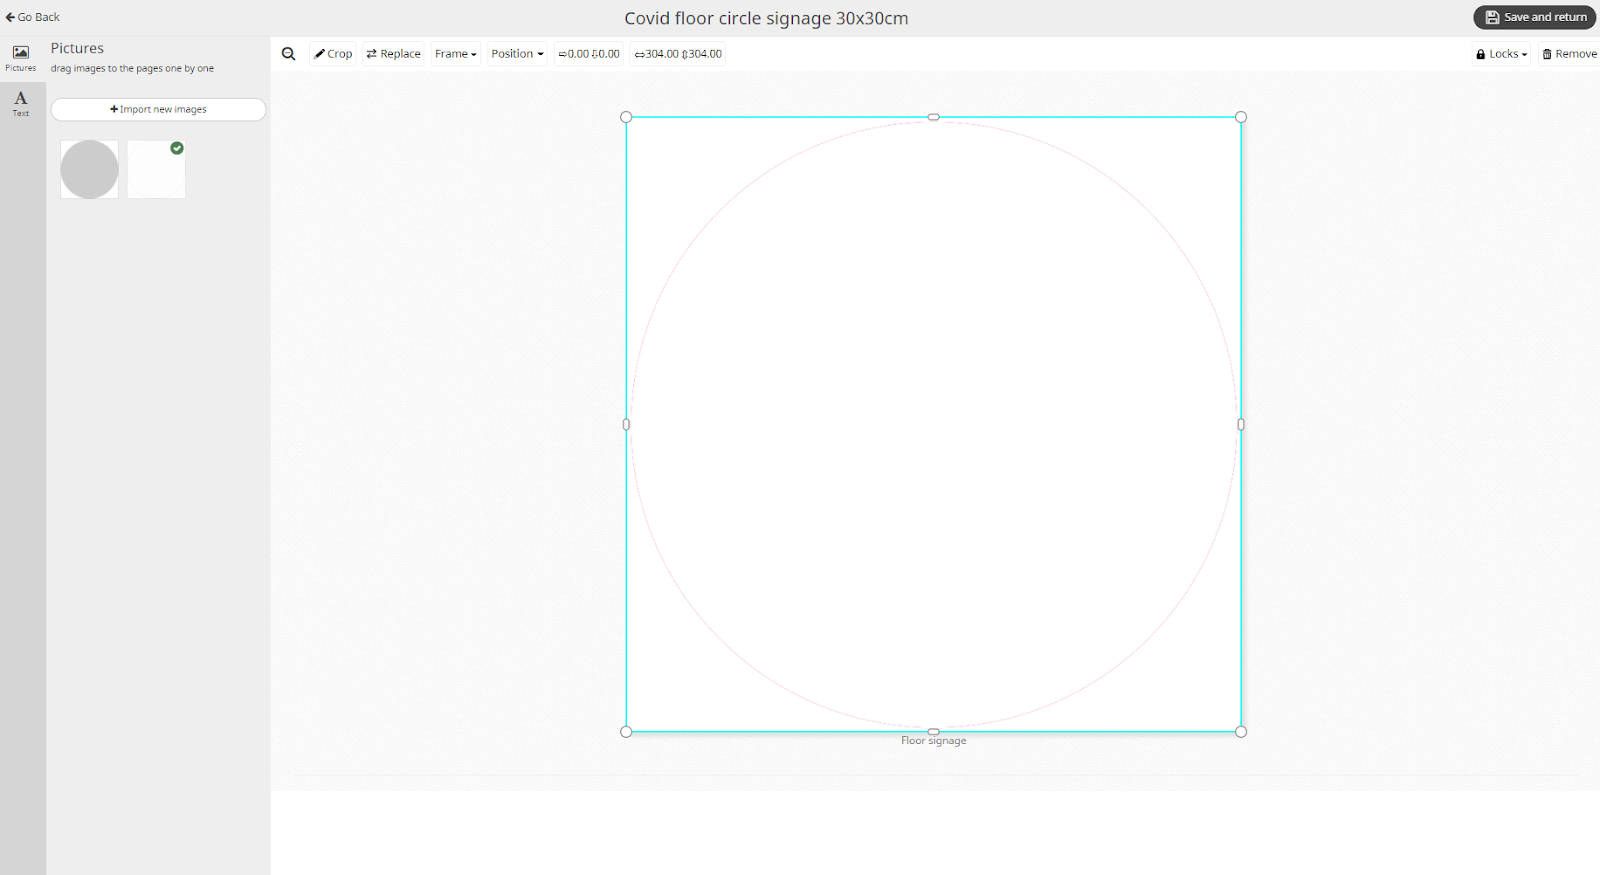
- With the right button open the contextual menu and lock this object. We do not want consumers can modify or move it.

In editing mode, when we lock the cliping mask which is in the top layer we will not be able to move the background objects anymore (unless unlock the object and move it).
Though in real mode the consumers still be able to click trought the transparent front object and edit the texts and icons
- When the model is created we click on “save and return” and the model is asociated to its template.
- A template may have only a model
- If we wnat to have diferent models we can easily “clonning” the template (which also clones the model), thus cvreating a new template, and then modifying the new model.
- The model is based on the template definition asociated when it was created. When a template has a model asociated to it, some changes in the definition cannot be edited later (like changing the size for instance).
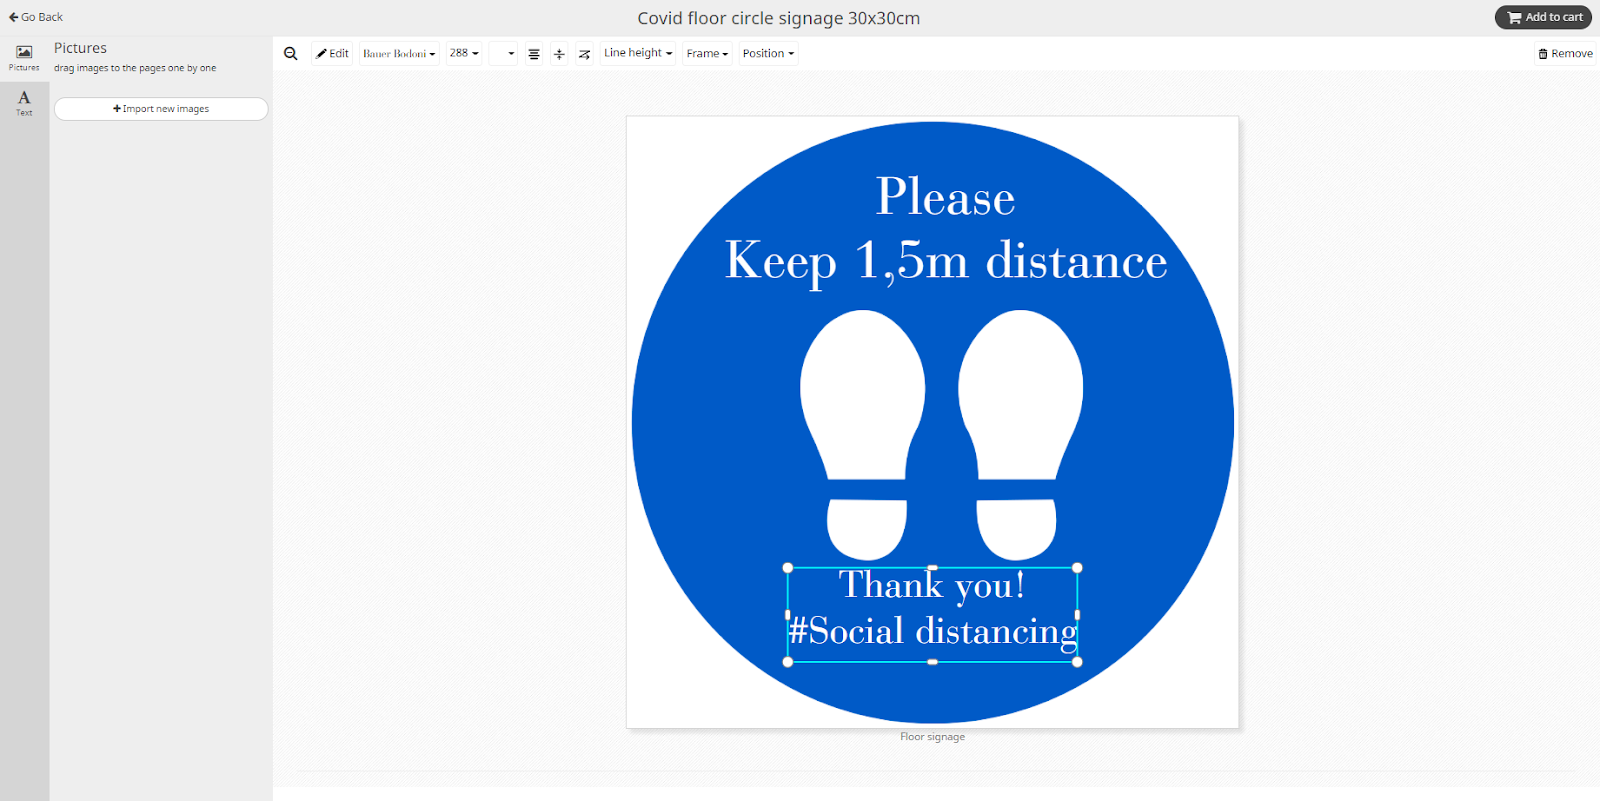
Testing the template
Afther a template is created it is possible to test how consumers will see an use it before it is published.
This can be done by the testing enviroment available at http://landingdemo.imaxel.com/yourdealer
In this case we see how consumers can edit their floor signage. If we find anything not as expected we have to go back to the backoffice (services.imaxel.com/your dealer/admin and modify the model accordingly.
After testing the edition process, the last step is to test the output file. For this we can compelte and order from the landing demo, an then go the backoffice and download the associated file.
https:// services.imaxel.com/yourdealer/admin > orders > pending
Download manually the order

And open the ZIP file. Look for the PDF ready to print file and make a real print.
